
To make amazing beer, you’re going to need to boil and ferment your ingredients with some basic equipment. If you’re just starting out, and aren’t sure if you’re ready to commit to this hobby, I have good news for you: you don’t need an extensive collection of gear to get started.
If you have a homebrew shop in your town or neighbourhood, they should have you covered.
If not, you can buy what you need online (I’ve provided links below for each piece of equipment).
You may discover that you already own some of the basics (a large stock pot, for example). Any good homebrew shop will offer the basics in a starter kit, which are often more affordable then buying all the pieces separately (I’ve also provided links to some good kits below, to steer you in the right direction).
Each stage of the brewing process requires different gear, plus a few basic supplies. I’ve listed all of these in the table that follows, sorted by brew process. As I’ve mentioned countless times, good cleaning and sanitization makes the single biggest difference between amazing beer and homebrew fit for the drain. You won’t be surprised to see that I start with these very important items. I’ve split the table into two columns: the bare essentials, and the nice-to-haves. You can definitely make amazing beer with the bare essentials.
NOTE: The kit I have outlined in the table below is designed for the 1-gallon brewer. While most of this gear is agnostic to your batch size, for some items, size does matter. For example, if you wanted to scale up to 2.5 gallon or 5 gallon brewing, you would need a larger pot (brew kettle), carboy (fermenter), and bottling bucket.
Home Brewing Equipment Starter Kits
If you want to keep things simple, you could start with a 1-gallon kit. Northern Brewer has a complete package (for my American friends) and BeerGrains has the same (for my fellow Canadians), but you will need to supply your own stock pot for both, and your own bottles for the BeerGrains kit.
If you live in the UK or Australia (BeerCraftr’s getting a lot of visits from Aussies and Brits), I’d love to hear from you on which online sites offer great service. Leave a note in the comments section if you know of any!
| Step | Essential | Nice to Have |
| Preparation | Cleaner: B-Brite, PBW, or Oxi-clean. Never use soap or dish detergent—they contain perfumes which could give your beer off-flavours, and can be tough to rinse off well enough. If you buy Oxi-clean, make sure to find the one labelled “Free,” as in free of perfumes | |
| Sanitizer: In my opinion, there’s really only one sanitizer worth using: StarSan. You’ll use it to sanitize any and all equipment that comes in contact with your wort once you’ve removed it from the boil. StarSan is food-grade, which means it’s safe for people and the environment. It’s flavourless, so it won’t taint your beer. There’s no need to soak your tools for an extended period of time—it sanitizes almost instantly (in 1-2 minutes) and doesn’t need to be rinsed off. | ||
| Brewing | Stock Pot. This will be your brew kettle. While our final batch size is 1 gallon, we’re actually going to need a pot that can handle 3 gallons (12+ litres). Anything smaller than that and you will end up with hot wort all over your stovetop. Your pot needs to be made of stainless steel or enamel-coated steel. Do not brew with an aluminum pot—it will give your beer a metallic taste. | Wort Chiller. I don’t find this necessary when brewing 1 gallon batches, but I certainly enjoy having it for larger batches. It cools the beer much more quickly than an ice bath. If plan to eventually brew 2.5 or 5 gallon batches, you’ll want to invest in a wort chiller when the time comes. You have to types of chiller to choose from: An immersion chiller is essentially a copper coil that you place in the boil, and you run cold water through it and out through a hose. The water is cold when it goes in, hot when it comes out and thus cools your wort pretty quickly. A counterflow chiller has two circuits. You run the hot wort through one, and cold water through the other. They run in opposite directions, and are a much more effective heat exchanger than an immersion chiller. But they’re more expensive. They’re worth it if you’re making batches of 5 gallons or more. Anything less than that, an immersion chiller will work quite well. |
| Large steel spoon. I would not use a wooden spoon—they’re tough to sanitize. If you insist on using a wooden spoon, then it must be strictly used for brewing, and nothing else | ||
| Instant-read thermometer. It should cover a range from freezing to boiling. You’re going to need to take the temperature of the mash, as well as the wort when it’s time to pitch your yeast. I highly recommend a digital thermometer to give you precise readings, quickly. | ||
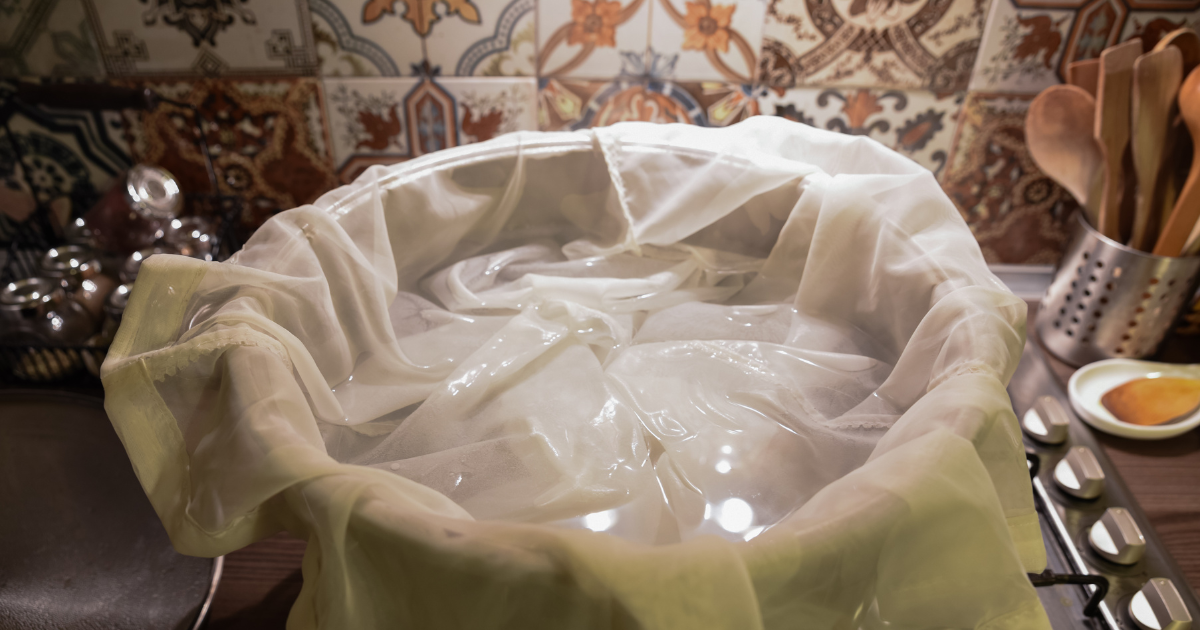
| Nylon bag. If you want to keep things super easy, get yourself a nylon bag to put your grains when doing the mash (soaking). You then just take out the bag, let it drain a little, and then you have a mess-free transition to the boil. | ||
| Plastic funnel. You’ll need to this transfer the wort to the fermenter. | ||
| Digital Scale. You’re going to need to mix the right ratios of milled grains, hops etc. I don’t know how I’d get by without my digital scale. | ||
| Fermentation | One-Gallon Glass Carboy. This will be your fermentation vessel. I prefer a glass carboy because it’s easier to maintain than plastic, and I can see how healthy my beer is at anytime without having to pry off the airlock. | Press-apply adhesive thermometer strips. These cheap thermometers stick on to the side of the carboy and give you instant temperature readings. It will help you keep an eye on fermentation temperatures so you can maintain a healthy fermentation. Carboy cleaning brush. If you clean your carboys with PBW or Oxiclean 24-hour soak, you’ll unlikely ever need a carboy brush. But for that one time you’re in a rush, and forgot to soak, it can help you remove any persistent debris |
| Airlock: You’ll add sanitizer to your airlock, which will keep a seal on the carboy and let carbon dioxide escape to prevent your carboy from exploding. | ||
| Blow-off hose. To be extra safe, you should get a blow-off tube, which you use in place of the airlock for the first 2-3 days of fermentation. I used to list this as optional, but the sheer number of times it helped me avoid a mess in my kitchen…I now consider it an essential item. To use, replace the airlock with the hose by inserting the hose into the hole of the plastic screw top on the top of the carboy and the other end in a small container half-filled with sanitizing solution. The hose will carry the excess foam into the small container, preventing a mess that would otherwise clog your airlock. Replace the sanitizing solution once/day to prevent your beer from absorbing off flavours. Once the blow-off subsides, replace the hose with the airlock for the rest of the fermentation period. | ||
| Refractometer. I long ago replaced my hydrometer with this device. It can measure specific gravity with only a few drops of wort, which means I don’t lose 6-8 ounces of beer every time I take a reading. | Hydrometer with sample tube. If the refractometer is too costly to start, and if you don’t mind losing the equivalent of one bottle to conduct original and final gravity readings, you could get a hydrometer. | |
| Plastic screwtop. To hold your airlock on place on the carboy. I used to use a rubber stopper, but after one too many pop-offs, I made the switch to screw caps. Your airlock is sure to stay in place. | ||
| 1 Mini Auto-Siphon. You’ll use the siphon (which you’ll connect to a hose), to siphon beer from the carboy into a bottling bucket. The mini-siphon is sized for 1-gallon jugs, which is perfect for our needs. | ||
| Siphon hose. You’ll connect this to the auto-siphon when transferring the fermented wort to the bottling bucket, and then connect the other end to the bottle filler when you transfer the wort to bottles. I recommend 4 feet in length. | ||
| Bottling | Bottling bucket. I use a 2-gallon food-grade plastic bucket. It’s also useful as a sanitizing bucket | |
| Bottle filler. This handy device will help you prevent unnecessary spillage of beer on bottling day and is also sized to ensure you do not overfill your bottles. | ||
| 12 pry-off bottles (340ml). This is the perfect excuse you needed to buy two six packs of your favourite beer (so long as they are pry-off bottles!). Give each bottle a thorough rinse immediately after you pour out the beer and set aside for bottling day. | 6 swing-top bottles (500ml). I long ago made the switch to swing-top bottles. They make bottling day quicker and easier. I also prefer the 500ml size – it’s a pint and it means I have 2-3 less bottles to bottle on bottling day. With these, you don’t need bottle caps, and you don’t need a bottle capper. Jet bottle washer. These bad boys blast water into your bottle to give them a good wash. Handy to have, but you can get by without if you always rinse our your beer bottles immediately after pouring the beer into your glass, or if you give your bottles a 24-hour soak with PBW. | |
| Bottle caps. (Not necessary if you use swing-top bottles) | ||
| Bottle capper. This tool is exactly as it sounds—use it to cap your bottles with the bottle caps and seal them properly. (Not necessary if you use swing-top bottles) | ||
Leave a Reply