
Bottling Basics
Let’s start with a basic agenda that will guide is through the next couple hours:
- Prepare priming solution
- Sanitize bottles, bottle caps, and all equipment
- Rack beer to bottling bucket
- Fill bottles
- Cap bottles
- Store bottles
To make your life easier, I’ve created a detailed, step-by-step bottling day checklist that will make your bottling day stress-free.
First, gather all your gear. Here’s what you’ll need.
- Small saucepan
- Corn Sugar (dextrose)
- Sanitizer
- Bottling bucket
- 8 clean, sanitized bottles to hold 1 gallon of beer
- 8 bottle caps
- Auto-siphon
- Plastic siphon tubing, about 4 feet in length
- Bottle filler
- Bottle capper
- A tasty beer to drink (you should never bottle without a beer in hand!)
1. Prepare priming solution
I like to start my bottling day by getting the priming solution ready. I start with this step so that by the time I’m ready to add the solution to my bottling bucket, it’s not too hot. So, as 1-gallon brewers, we’ll boil 0.6 ounces (17 grams) of corn sugar in 100ml water for 5 minutes in a small saucepan. Remove the solution from the heat, place a lid on top, and let it cool to room temperature as you prepare the sanitizer solution.
Of course, the amount of priming solution I just prescribed above is generic. As you brew different styles, you should feel free to adjust up or down as appropriate, and to your own preference.
2. Sanitize everything
With the priming solution prepped and cooling down, we can prepare our sanitizer solution, just as we did on brew day. You won’t be shocked to hear that everything that touches your beer needs to be sanitized. That means, bottles, bottle caps, all bottling equipment (racking cane, bottle filler, bottling bucket, etc.) You won’t be surprised to hear that I highly recommend using StarSan for your solution. It’s simply the best.
If this is your first time bottling, make sure to check out my detailed guide on how to clean and sanitize.
3. Rack beer to bottling bucket
Once your priming solution has cooled to room temperature, you can start transferring your fermented beer to the bottling bucket. To do that, you’ll place your carboy—which contains the fermented beer—on the counter, and your bottling bucket on the floor, or on the open dishwasher door. Then you’ll use your auto-siphon—which you’ve attached to your tubing—by pumping it a couple times to get the beer up to the top of the auto-siphon and into the tubing. From there, gravity will do the rest, pulling your beer down the bottling bucket.
As you do this, keep this process smooth, doing all you can to avoid splashing to minimize the amount of oxygen your precious beer gets exposed to. Now, don’t stress over this, splashing will occur—it’s impossible to avoid some splashing—but aim for a quiet transfer of beer.
Once the beer starts filling up your bottling bucket, gently add your priming solution to it.
When all the beer has transferred to your bottling bucket raise the bottling bucket onto your countertop. Let it sit for 3-5 minutes to let solids settle to the bottom (if any), and to give the priming solution enough time to diffuse throughout the beer.
4. Fill bottles
Now, if you have a dishwasher, open it up and place your bottles on the open door of your dishwasher. Don’t have a dishwasher? No sweat, the floor will work just fine. Just lay out a towel, place your bottles on top of the towel and you’re set.
Alright, now the real fun begins! Attach a bottle filler to the end of the tubing. While keeping it pressed down into a bottle, give it a couple pumps to get the beer flowing. If you don’t press the bottle filler down, the beer won’t move and you’ll feel pressure. Air needs to pass through, so make sure to press down. Place the bottle filler into the first bottle, press it down lightly into the base of the bottle and fill it up!
Of course, if you happen to have a bottling bucket with a spigot, you just need to attach a sanitized length of tubing to your bottle filler and the other end to the spigot on the bottling bucket. Open the spigot, place the bottle filler into the first bottle, press it down lightly into the base of the bottle and fill it up!
When the beer hits the top of the bottle, pull out the bottle filler and move on to the next bottle. Yes, you want to fill it right up to the top. As you remove the bottle filler, it will leave just the right amount of headspace you need to ensure the bottle carbonates well, but not too well. (Too much head space could result in exploding bottles. Too little, and your beer will turn out flat).
Repeat until you have filled up all the bottles. You should get about 8 (12 oz) bottles out of a 1-gallon batch. Regardless of the bottle count, if you can’t fill the last bottle more than 3/4 full, just drink it flat. You never want to bottle a beer with too much headspace.
5. Cap bottles
Let me start off by saying just how happy I am that I recently switched over to swing-top bottles. It makes bottling day so much more pleasant. You literally swing the tops on, pop them down, and you’re done. But, swing-top bottles are not cheap. And most of us start brewing by collecting beer bottles from our favourite craft beers. And those are typically not swing-tops.
So, assuming you have traditional bottles that need to be capped, here’s what you need to do: place a sanitized crown cap on the bell of the bottle capper (it should stick, as its magnetized), lower the bell onto the top of the bottle, and push down on the wings of the bottle capper until it locks the cap in place.
I recommend doing this part on a dishcloth so that the bottle doesn’t slip out from under you and spill beer everywhere.
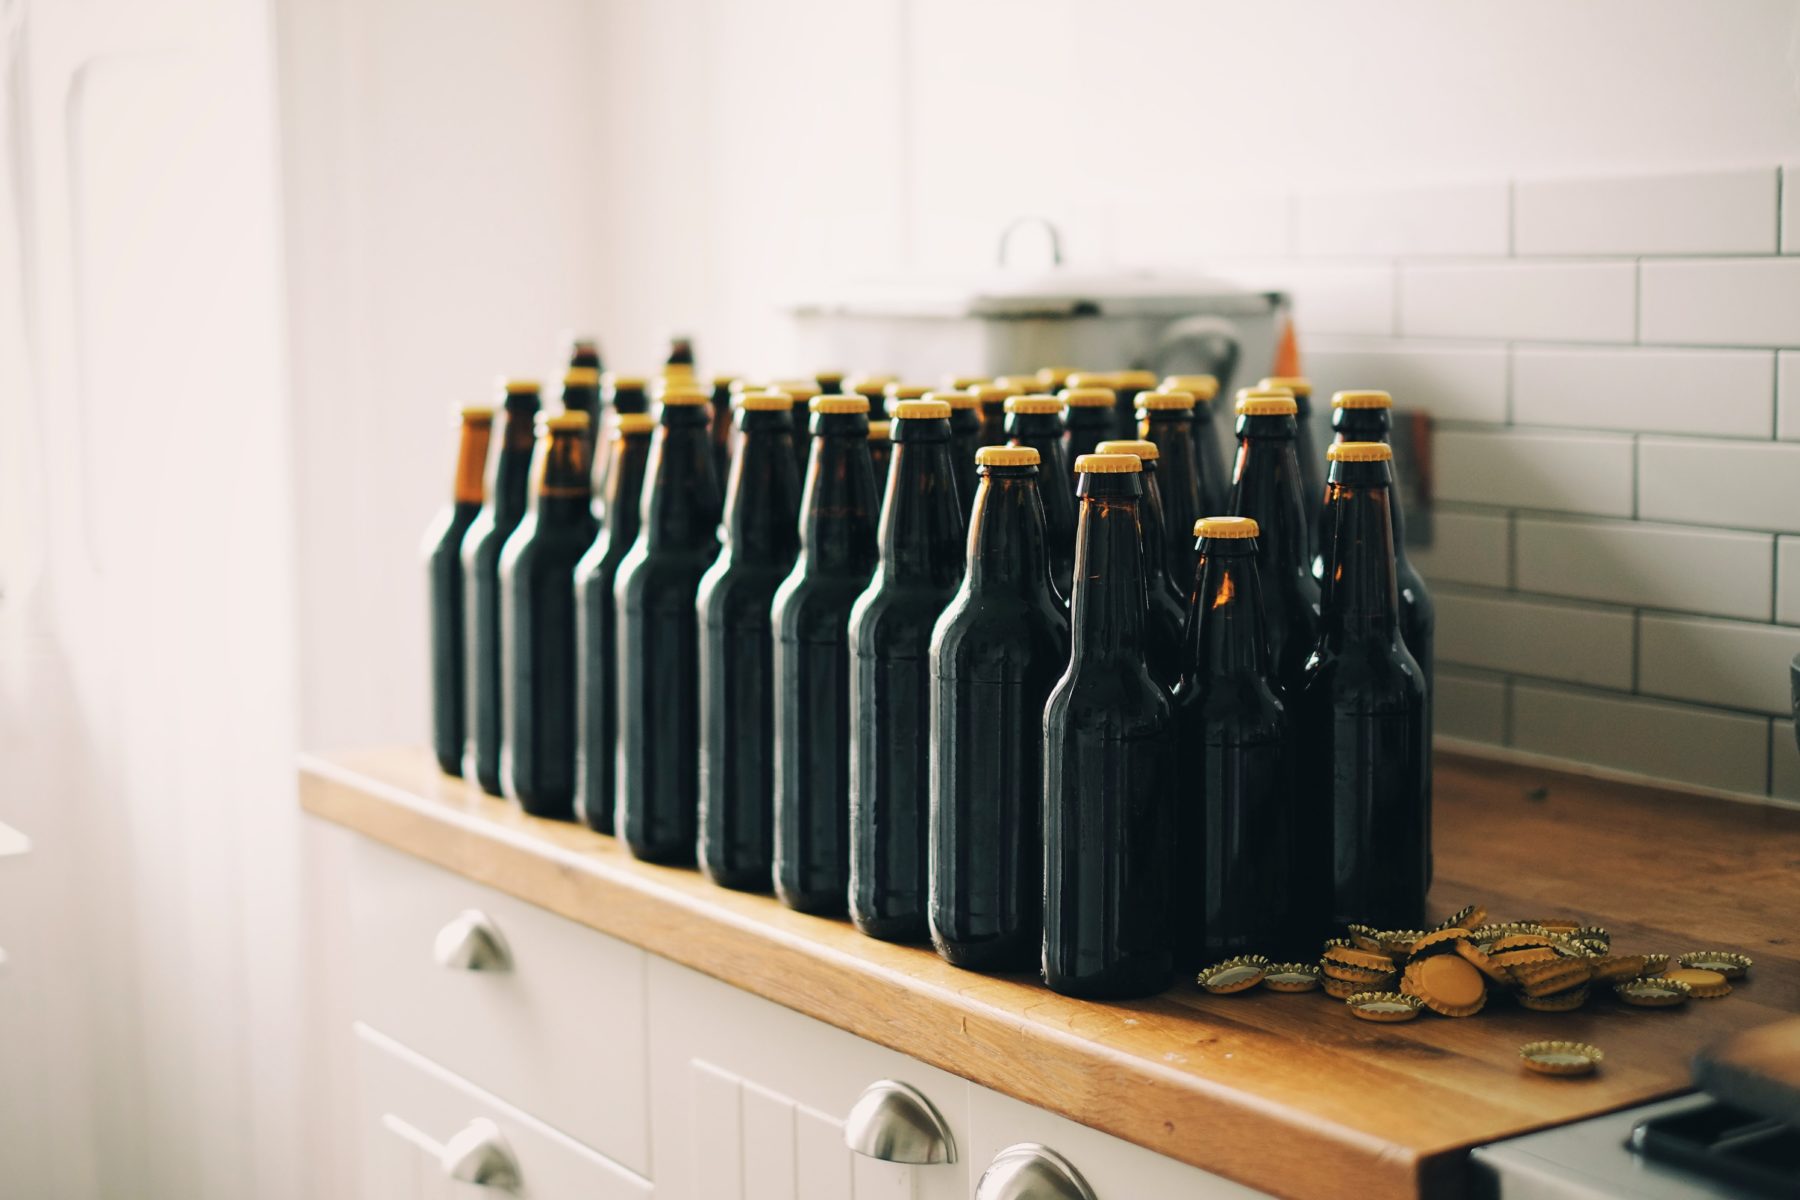
6. Store bottles
Bottling days is pretty much done! Other than clean all your gear, you need to store your beer. If you worry about exploding bottles, store them in a plastic container, upright, in a dark corner. Ideally, you would store them between 65F (18.5C), and 75F (24C), or room temperature.
Now, wait 30 days if you can. If you’re way too curious (I can’t blame you!) try and hold out for 14 days. If you absolutely can’t wait, you can try after 7 days, but the beer really needs at least 14 days to condition.
Leave a Reply