
While we often make a fuss about the importance of sanitization in brewing (it’s important!), there is a separate variable that almost single-handedly accounts for the quality of your beer: fermentation. In fact, most of what can go wrong with your beer happens during fermentation.
I cannot begin to tell you how much my brewing skills improved once I paid obsessive attention to the health of my beer’s fermentation. I recently upgraded my homebrew setup with a temperature controller and it has changed my life (and my beer!). More on that in a moment. But first…
The importance of temperature control
Temperature is the single biggest and most important variable you will deal with when it comes to your fermentation. Here are some things to keep in mind:
- A colder fermentation (lager) gives your a slower fermentation. But it also gives you cleaner flavours. With a colder fermentation, you need to keep an eye out for potentially stalled or incomplete fermentations, especially if you’re fermenting a higher-gravity beer. If you’re fermenting a lager, you’re also at risk of sulfur odours, which can be entirely normal for some yeast strains.
- A warmer fermentation (ale) gives you a faster fermentation. But it also means you have a higher risk of off-flavours. Some ale strains are designed to ferment warm—saisons are particularly well-suited to warmer temperatures. Many ale strains produce a lot of flavours which would be inappropriate in lagers, but absolutely welcome in some ales.
Always start cool, then warm up
Whether you’re making a lager or an ale, to avoid off-flavours, start your fermentation at a colder temperature and gradually warm up.
- When making a lager, you want to start your fermentation at 50°F (10°C). Once fermentation starts, you can slowly increase the temperature to your yeast strain’s ideal temperature.
- When making an ale, start your fermentation at 65°F (18°C) before slowly increasing the temperature to your yeast strain’s ideal temperature. For even better results, and assuming you have a temperature controller, increase the temperature by 1-2F every day until fermentation is complete, or you hit your desired final gravity.
Maintain a consistent temperature
Just as important as the temperature itself is the consistency of that temperature. You want to avoid harsh fluctuations in temperature. When you pitch the yeast, you have woken it from a deep sleep. It wants to get back to sleep as soon as it can. If the temperature dips too soon, it’ll think it’s time for bed. If it swings too hot, it’s going to get overworked. Either way, wild temperature swings could give you a beer that is either too sweet (if the temperature was too cool) or with beer that never had its off-flavour by-products cleaned up by the yeast (if the temperature went hot too quickly).
Upgrading to a temperature controller
The process we use to brew all-grain beer at home is not much different than the process the pros use. Sure, we’re using basic equipment, but the process is nearly identical, with one exception: the ability to control fermentation temperatures with precision. This single piece of equipment is what separates the pros from home brewers—gear-wise. But it comes with one pretty important caveat: finding a temperature controller for 1-gallon setups is nearly impossible.
How did I adapt?
I often brew on a 2.5 gallon setup, which has all of the same benefits of 1-gallon brewing: it’s a great size for apartment/small kitchen setups. This upgrade let me make two important investments: a 3-gallon brew bucket from SS Brewing, and a Brew Jacket for temperature control. I will write a separate blog post on how I made this conversion, and how it works well from small-batch brewers, but for now, I’ll simply emphasize how transformational this investment was for me.
The Brew Jackets a single temperature controller. I set the temperature I want and it keeps my fermentation at that temperature. No need to store it in a fridge, or connect it to a cooler with ice-cold water. It plugs into the wall and does its thing. It’s amazing.
With that said, I still brew 1-gallon brews, and for that setup, I rely on rudimentary methods that are less precise, but ultimately help me control my temperatures.
Getting by without a temperature controller
When making an ale, I place the carboy in a 2-gallon bottling bucket, fill that bucket with cold water and assess the temperature. If I need to, I add ice packs to the water, or simply replenish with colder water. It’s not nearly as precise as a temperature controller, but I can at least keep the temperature within the range.
When making a lager, once I have chilled the wort in an ice bath and transferred it to the carboy, I place the carboy in the fridge before pitching the yeast. The goal here is to bring the wort down to the right temperature. This requires that you have nearly perfect sanitization as it takes a while for the wort to hit the right temperature. Once I pitch the yeast, I keep an eye on the temperature. If needed, I’ll take it out of the fridge if it gets too cold, or use the process I described above (carboy in cold water with ice packs).
If you have a basement, store your beer there. I don’t have this luxury, which is why I rely on the methods described above. But a basement is usually cooler and maintains that temperature consistently.
Cold Crashing Ales
This is an optional step; one I rarely take, but one I would be remiss not to mention. If you like your beer clear, you should consider cold-crashing it. I personally don’t care much about beer clarity, but I concede that it can be the mark of a perfectly brewed beer. Opinions aside, if you want to aim for a clear beer, you will need a cold space that can maintain a near-freezing temperature and also fit your carboy. For us small home/apartment brewers, this is not a practical option unless we live in cold climates and cold-crash in the great outdoors when the temperatures are just right. Otherwise, you need an old fridge so that you can set at its coldest setting. Place your carboy inside and wait for the temperature to drop to near freezing. And then you wait for the yeast to drop (or your beer to clarify to your ideal clarity). Depending on yeast strain, this could take a day or two, or a week or two.
A note of caution though: don’t let the beer clarify to the point of purity at this stage. You still want some residual yeast for bottle conditioning.
Keep it in the dark
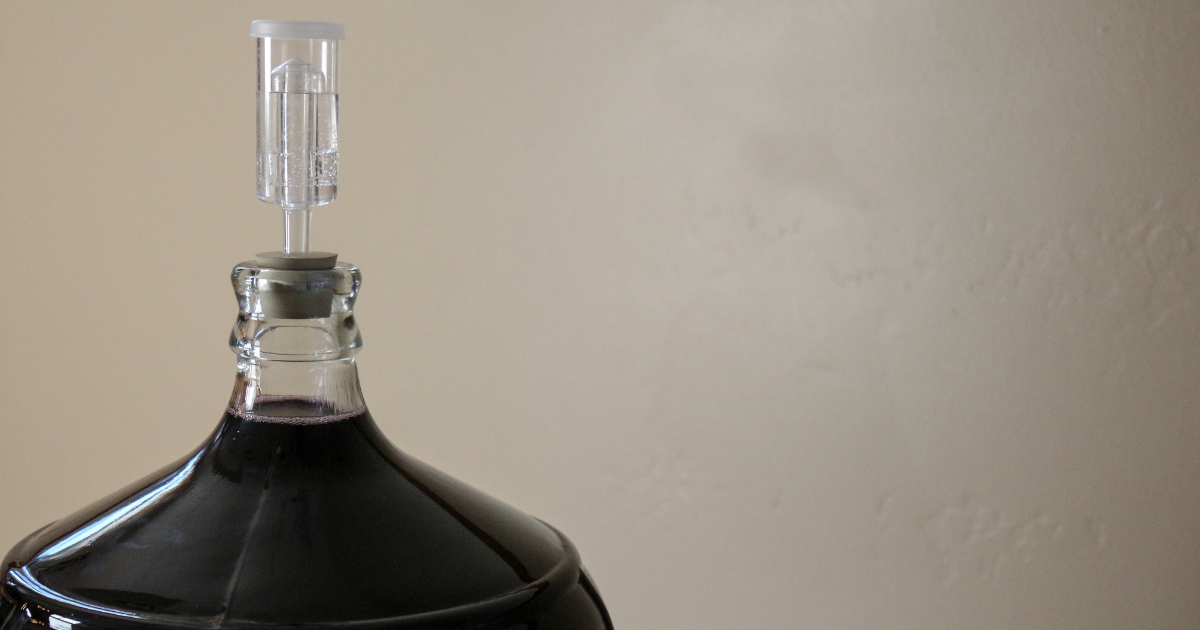
While temperature is certainly an important variable that can make or break your fermentation, you shouldn’t overlook the importance of darkness either. With a transparent glass carboy, that bad boy is at serious risk of acquiring skunky flavours, especially if you keep it exposed to light. And trust me, it doesn’t take much light to spoil a good beer. Thankfully, this is an easy thing to manage. I wrap my carboys with dish towels. If you’re using the rudimentary temperature control methods I mentioned above, the bottling bucket will keep out 90% of the light. I usually drape a dish towel over the whole setup to keep it fully in the dark.
Understanding yeast strains
Selecting the right yeast strain that works best for your beer style and fermentation conditions is also important to the quality of your final product. While you obviously want to use a lager yeast for a lager and an ale yeast for an ale, this is not necessarily a rule. The more important factor is that yeast strain’s alcohol tolerance, flocculation, attenuation, and flavour profile. Let’s break this down:
- Alcohol tolerance: If you plan to brew a stronger beer – an imperial stout or barleywine, for example, you’ll need a yeast strain that can handle the toxicity of that higher alcohol environment. So, ensure the yeast you’re using can handle the alcohol.
- Flocculation: this is the degree to which yeast drop to the bottom of the solution. Yeast strains with high flocculation drop easily, giving you a clearer beer. Low flocculation yeasts prefer to stay suspended in the liquid, resulting in a hazier beer.
- Attenuation. Unlike wine, beer yeasts do not ferment every available sugar in the wort (unless a wild bacteria has contaminated the batch and you have a never-ending fermentation). The degree to which a yeast strain consumes all available sugars is called attenuation. Beers that attenuate less will give you a sweeter beer.
- Flavour profiles: Of course, you’ll want to be familiar with the natural flavours of your chosen yeast strain. Some produce very clean and neutral flavours. Others load your beer with hints of clove, pepper, and banana. You’ll want to make sure the yeast’s flavour profile is consistent with that you’re aiming for in the final product. But you also want to know what errors the yeast is prone to. For example, some are notoriously slow to ferment. Others have a tendency to produce off-flavours like diacetyl. For a full list of off-flavours, check out my extensive list.
Know your yeast strains so you can manage them well. If you need a place to start, I have an exhaustive list of the most common yeast strains with their fermentation and flavour profiles, sorted by beer style.
Understanding yeast pitching rates
You can’t over-pitch
I get this question a lot: is it possible to over-pitch yeast? In other words, is there such a thing as adding too much yeast to your wort? The answer is no. If we were brewing 5-gallon batches of beer, our biggest risk would be under-pitching, especially if we were making a higher gravity beer. But this is where us small-batch, 1-gallon brewers have the real advantage.
Yeast packs are designed for 5-gallon brews. We have more than enough yeast to do the job with a standard liquid or dry yeast pack. Whether you pitch the whole amount or take a more economical approach of using 1/3 or 1/2 of the pack and preserving the rest for your next batch, we’re in safe territory.
Now, I say this recognizing that the brewing community has long had a raging debate on whether there’s such a thing as over-pitching. Some will argue the need to use a pitch-rate calculator. But even those tools over-estimate the amount of yeast needed. If you were brewing 5 or 6 gallons, my advice would be to use these calculators and determine whether you need a yeast starter or not. Thankfully, because we’re the small-batch world, we don’t need to stress about it!
But if you want to be precise about it…
If you’re the curious type and insist on using a precise amount of yeast, here’s how you do it:
The higher the gravity of the beer, the more yeast you’ll need to ensure your fermentation is healthy. We first need to understand “gravity points,” which are simply the three digits that come after the decimal point in your gravity reading. So, an IPA at 1.061 has 61 gravity points.
Now, you multiply gravity points by a multiplier appropriate to the beer style (either lager or ale). If you’re making an ale, your multiplier for liquid yeast is 0.007. If you’re making a lager, it’s 0.015—meaning, you need to pitch twice the amount of yeast in a lager as you would in an ale.
You then multiply this by the batch size. So, a 1-gallon ale with an original gravity reading of 1.061 looks like this:
0.007 x 61 x 1 = 0.427 liquid yeast packs.
In other words, half a pack will more than do the trick.
If this had been a lager:
0.015 x 61 x 1 = 0.915 liquid yeast packs.
What about dry yeasts?
Dry yeast usually contains twice as much yeast as liquid yeast. One 11.5g package can sustain a 5-gallon, 1.065-1.070 brew. Use that as a reference to pick the right amount of yeast. Or keep it simple and use half the package.
Fermentation Time
Yeast needs time to do the job. It’s not just about consuming all the sugars. Even when they’re done, we want to give them time to clean up. So you need to be familiar with the fermentation cycle. Give yeast two days to wake up (resulting in that foam we call krausen). After this, the yeast are simply consuming sugars. At that point, it’s okay to raise the temperature slightly if you can control the temperature. Hold it there for a certain number of days to complete fermentation. Then check the beer. You should never assume it’s done. It takes a bare minimum of 7 days to ferment a beer. That’s as fast as it’s going to be, and that is only true if so many variable line up. Which is why all my recipes call for 14 days of fermentation time, to give you lots of buffer time.
Brew by the season
Another way to play it safe is to brew beers by the season. For example, saisons ferment well at higher temperatures. So why not make bone-dry saisons in the summer? Lagers obviously need colder conditions, so why not brew lagers in the winter, especially if you have access to a basement, garage, or the great outdoors to help you keep the beer cool. Embrace the season and brew accordingly.
Leave a Reply