
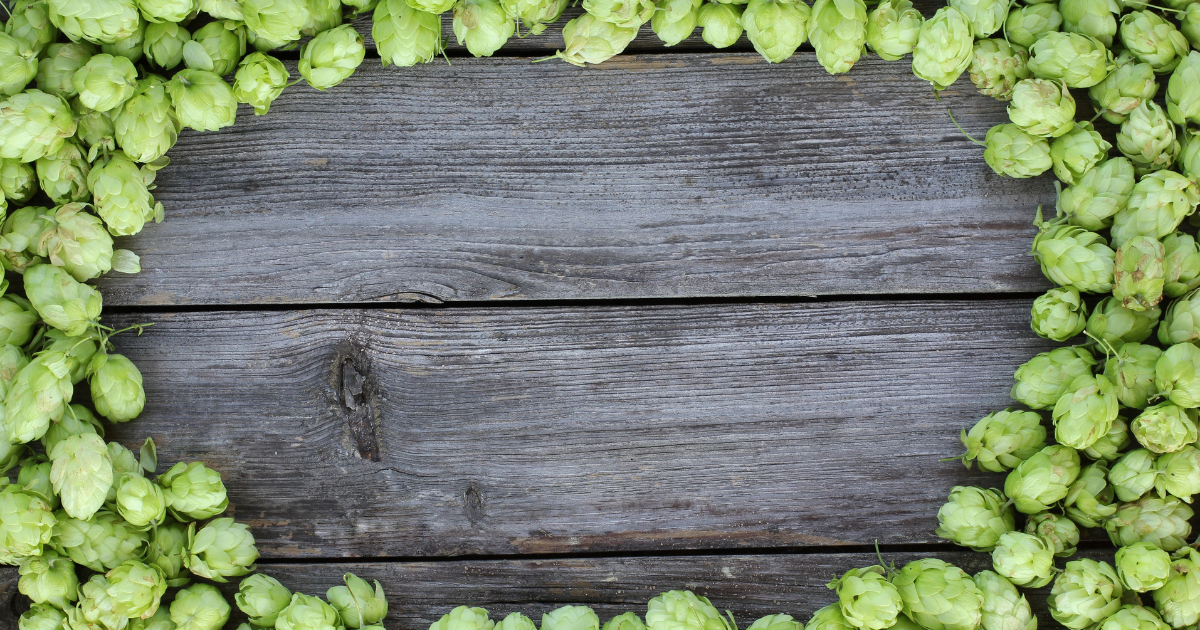
Ever stumble upon a recipe that called for first wort hopping and wonder what the heck that means? Or when you find your local brewery’s recipe and you notice it calls for use of hops during the whirlpool and wonder how you’d pull that off at home? Yeah, me too.
So let’s break this all down and walk through all the hopping methods available to us as home brewers.
Most homebrew recipes give us a clear indication of when to add the hops: the start of the boil for bittering, later in the boil for flavour and the end of the boil for aroma. But we can also add hops before the boil. Or after the boil, or after primary fermentation.
We have lots of options. Let’s walk through them all, working in chronological order, from the top of brew day down through to the fermentation period.
Mash Hopping
As the name suggests, with this method, you add the hops during the mash. This is a rarely used hoping method because iso-alpha acid conversion does not fully realize at mash temperatures. In other words, the alpha acids do not undergo isomerization, which means they do not contribute bitterness. And to make matters worse, the boil will drive off any oils you extract from the hops. So, if you want to add hop flavour without the bitterness, keep on reading—there are much better methods available to you.
First Wort Hopping
First wort hopping (FWH) is simple: you add either a portion—or all—of your late boil hops—after the mash, before the wort comes to the boil. Specifically, you add the hops when your wort is about 180ºF, as it’s coming to the boil.
Why do a FWH? According to a litany of blind taste tests, FWH gives your a rounder, softer, smoother bittering than when you add hops to a rolling boil. Studies have shown that FWH will increase your battering units without increasing the perceived bitterness. Put another way: they have less bite.
Certain beer styles certainly benefit from this treatment. Malt-forward beers, wheat beers, Scottish ales, and lagers would make for good starter beers if you want to experiment with FWH.
During the boil
If you have a couple of home-brews under your belt, you know this method very well: you add the hops at a prescribed time during the boil. At the top of the boil, you’re adding hops to contribute bitterness. The earlier in the boil you add the hops, the more bitterness you’ll extract from them. For most beers, you will need to add hops during the boil.
Near the end of the boil
We’re still in the boil at this stage, but we’re nearing the end of the boil (usually the last 15 minutes of the boil). The later in the boil you add hops, the less bitterness you get, but the more aroma and flavour you gain. Most traditional recipes will include late-boil additions.
Hop Stand (or Whirlpool Hopping)
This method gives the boiled wort an extended period of time with flameout (end-of-boil) hops before you chill the wort for yeast pitching. This period typically lasts a minimum of 10 minutes and usually lasts 20-30 minutes. However, nothing stops you from using a 45, 60, or even 90-minute hop-stand if you want to supercharge the effect. The length is determined by how hop-forward you want the beer to be.
Why use a hop stand?
To extract flavour and aroma while limiting the isomerization of alpha acids (in other words, limiting bitterness). You could add the hops at the end of the boil, once you have shut off the heat, but if you want to be very precise about it, you would wait until the wort’s temperature drops to 175ºF to ensure you’re getting the most hop characteristics. Why? Because hops continue to isomerize (contributing bitterness) after flameout until the wort reaches this temperature. Or so the theory goes. The good folks at Brülosophy tested this is it seems to have no impact. It appears you can safely toss in your hops at flameout if you don’t care to wait for the temperature to drop, or if you want to keep brew day simple and stress-free.
Why is a hop-stand also called a whirlpool?
The professional brewers create a whirlpool either in the kettle, or in a separate whirlpool vessel with the hot wort. This process creates a cone-shaped pile of unwanted trub and leftover hop material in the centre of the vessel. Thankfully, as homebrewers, we can get the same hopping benefits without having to create a constant whirlpool. We benefit from having much smaller volumes of wort to work with, so the constant whirlpool is not necessary.
Hop Bursting
This is a variation on a hop stand. With this method, you add all of your boil’s hop additions at the end of the boil instead of during the boil. You do this so that the hops get an extended period of time with the wort as it chills to pitching temperature.
Like whirlpooling, hop bursting results in a softer battering and more pronounced hop characteristics. The primary difference between hop bursting and whirlpooling is the share of hops that get used at this stage. Hop-bursting goes all-in, with almost all of the hops tossed in at this stage. I say almost, because you should still throw in a dab of hops at the start of the boil to prevent excessive foaming of the wort.
Dry Hopping
With this method, we add the hops after boil, and after the wort has cooled, and usually when fermentation is almost finished or even when it is completely finished. With this method, the hops don’t cook, since they are not exposed to heat like all the methods we’ve reviewed before. In practical terms, this means the hops do not isomerize, which means they do not add bitterness to the end product.
Typically, you add your hops after primary fermentation. Why? Because the carbon dioxide that gets released during primary fermentation will cause some aroma loss. If you’re adding hops during primary fermentation, you’ll need more to account for this loss.
In any case, you’ll typically steep the hops in the fermenter for 1-2 weeks for ales (and 2-3 weeks for lagers).
Leave a Reply